Performing An Internal Network Pentest With BLACKBIRD Web App Pentesting Suite

Securing your internal network is just as important as protecting your external-facing assets. BLACKBIRD Web App Pentesting Suite offers powerful tools for comprehensive vulnerability scanning that can now also be deployed in internal networks via VPN profiles.
This quick guide will walk you through the process, highlighting the importance of internal vulnerability scans and how to leverage BLACKBIRD's capabilities for the most accurate results.
New to BLACKBIRD Web App Pentesting Suite?
Is this the first time finding out about BLACKBIRD Web App Pentesting Suite? Try out a demo and discover what it can mean to you as a penetration tester!
What is Internal Vulnerability Scanning?
Internal network vulnerability scanning is the process of systematically examining an organization's internal network infrastructure to identify potential security weaknesses, misconfigurations, and vulnerabilities.
Unlike external scans that focus on publicly accessible systems, internal scans provide a deeper look into the organization's private network, such as internal web applications and APIs (dashboards, metric & analytic services, monitoring and other custom operation services) .
These scans simulate the perspective of an attacker who has already gained initial access to the network, helping organizations understand and mitigate risks that could lead to lateral movement or privilege escalation.
Internal vulnerability scans also provide a more complete picture of your client's security posture, uncovering vulnerabilities that external scans can not find.
How to Start an Internal Vulnerability Scan with BLACKBIRD
BLACKBIRD Web App Pentesting Suite makes internal network vulnerability scanning straightforward and efficient. Follow these steps to initiate your internal scan:
1) Create a VPN Profile:
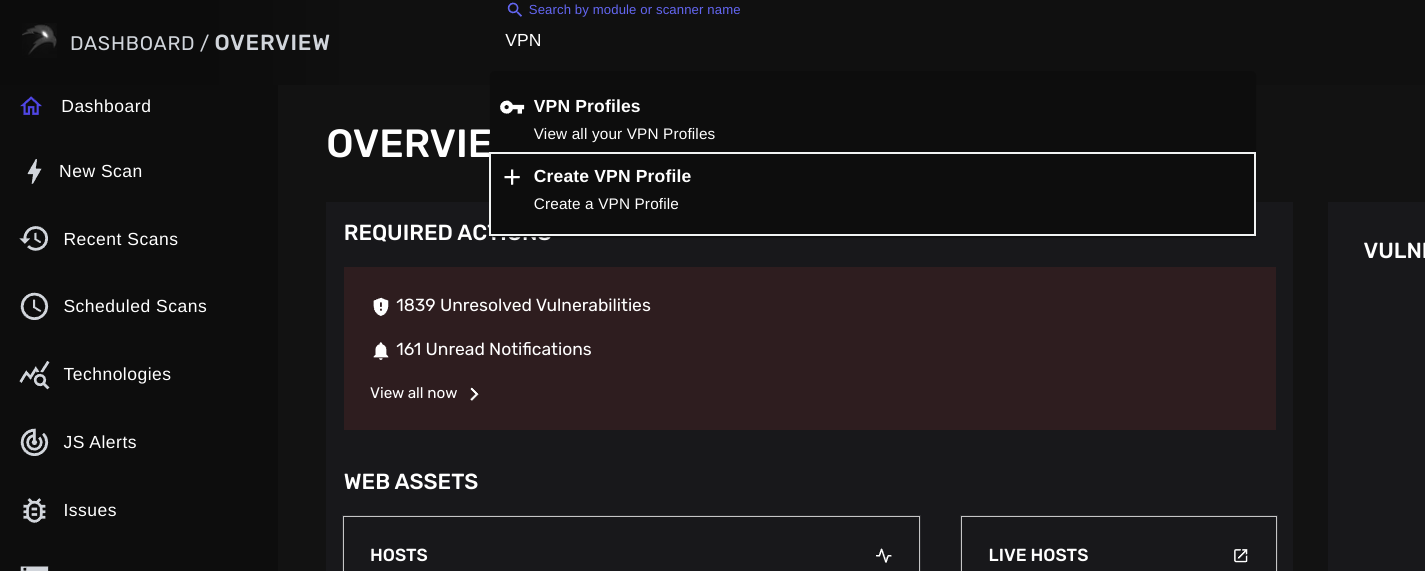
Before you begin, ensure you have set up a VPN profile in BLACKBIRD. This step is crucial for securely accessing the internal network. For detailed instructions on creating a VPN profile, please refer to our previous guide: How to Create a VPN Profile in BLACKBIRD.

2) Access Advanced Settings:
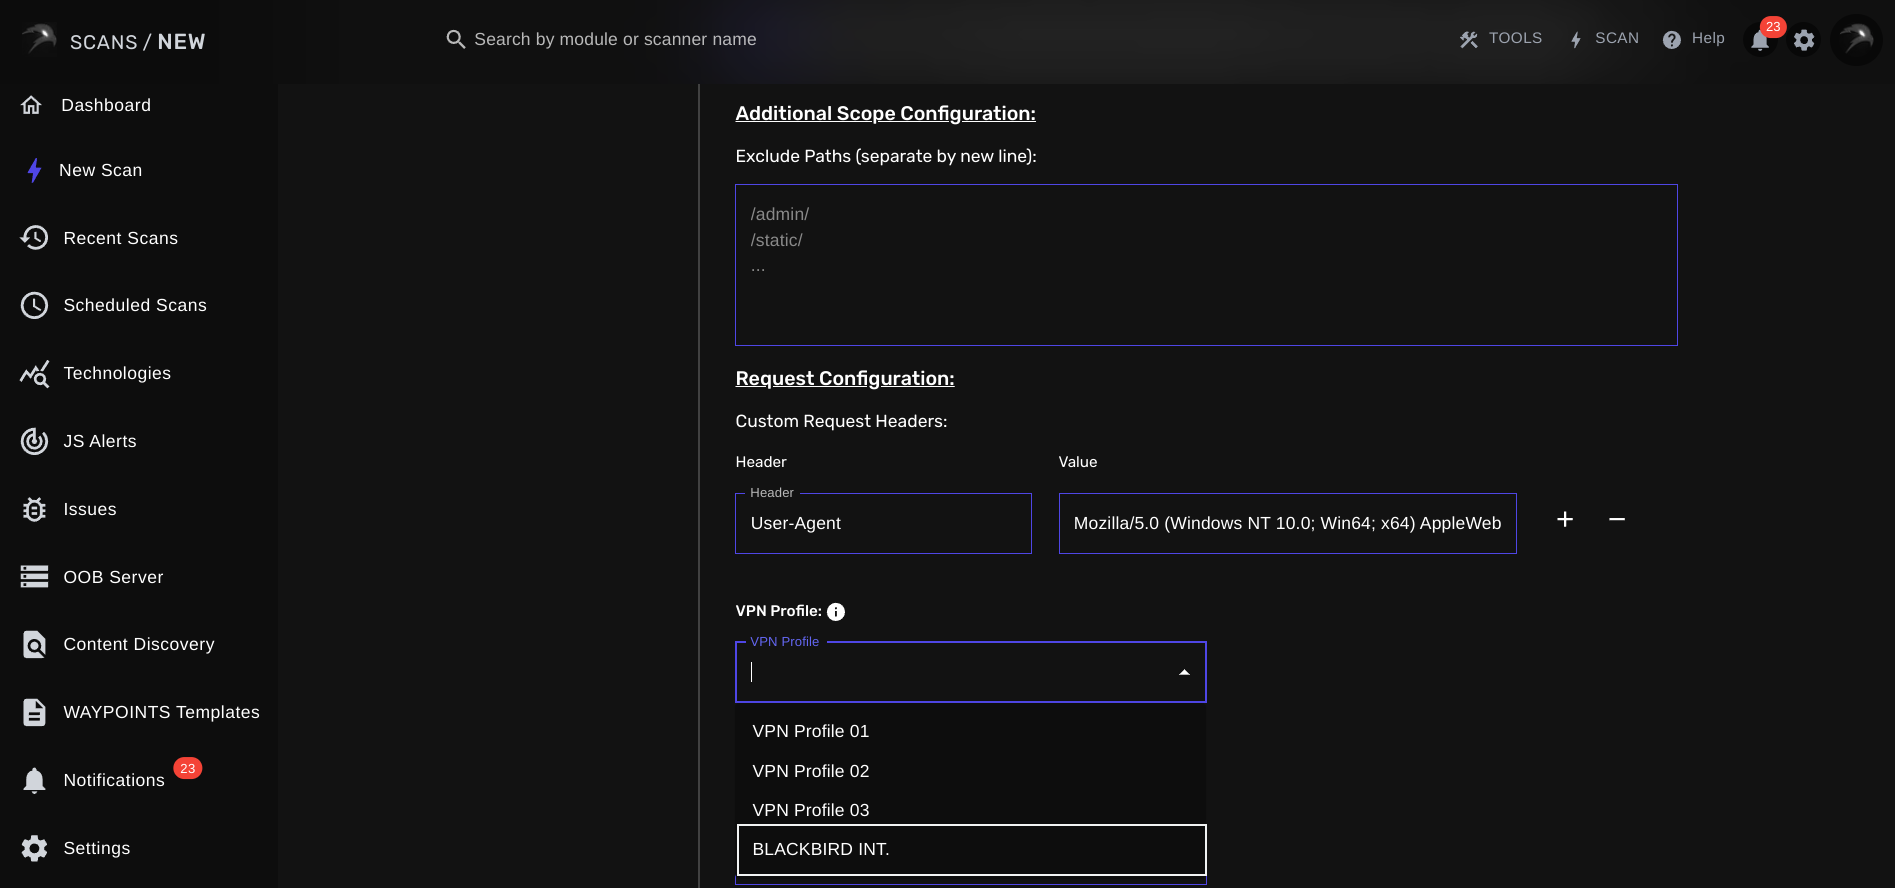
Before running any type of scan, open the "Advanced settings" section, this is where you'll configure the specifics for your internal scan.
3) Select the VPN Profile:
In the Advanced settings, you'll find a special field for VPN profiles. Select the appropriate VPN profile that you created for accessing the internal network you wish to scan. If your VPN profile does not appear on the list, refresh your page and try again.

4) Launch Your Scan:
With the correct VPN profile selected, you're now ready to initiate your internal network vulnerability scan.
5) Scan Logs:
Once you've launched your scan, you can confirm in the scan logs that a new VPN connection was successfully created and that the internal assets are reachable to the scanner.
The vulnerability scanner will now use the specified VPN profile to access the internal network and perform a comprehensive vulnerability assessment.
Conclusion
Internal network vulnerability scanning is an essential component of a robust cybersecurity strategy, especially if you're tasked with securing your client's web assets. By leveraging BLACKBIRD Web App Pentesting Suite's powerful internal scanning capabilities, you can gain deep insights into your client's network security, identify potential weaknesses, and proactively help address vulnerabilities before they can be exploited.
New to BLACKBIRD Web App Pentesting Suite?
Is this the first time finding out about BLACKBIRD Web App Pentesting Suite? Try out a demo and discover what it can mean to you as a penetration tester!


