Creating A Valid Target Definition: A Quick Guide
This short article will guide you on how to create a valid target definition for targets.

Introduction:
Defining targets accurately is crucial for effective vulnerability scanning within your BLACKBIRD Web App Pentesting Platform and for network scanning in general. Our web app pentesting platform provides a user-friendly, guided process to help you create valid target definitions.
In this article, we'll walk through the three main steps to set up a target definition that meets your specific requirements.
If you do not have an active license yet, you can try a quick demo below. BLACKBIRD Web App Pentesting Platform is a cloud-based web app pentesting platform for penetration testers to help them find more security vulnerabilities through powerful automation.
Step 1: Create Target Definition
The first step involves entering the basic details about your target, let's go through each field:
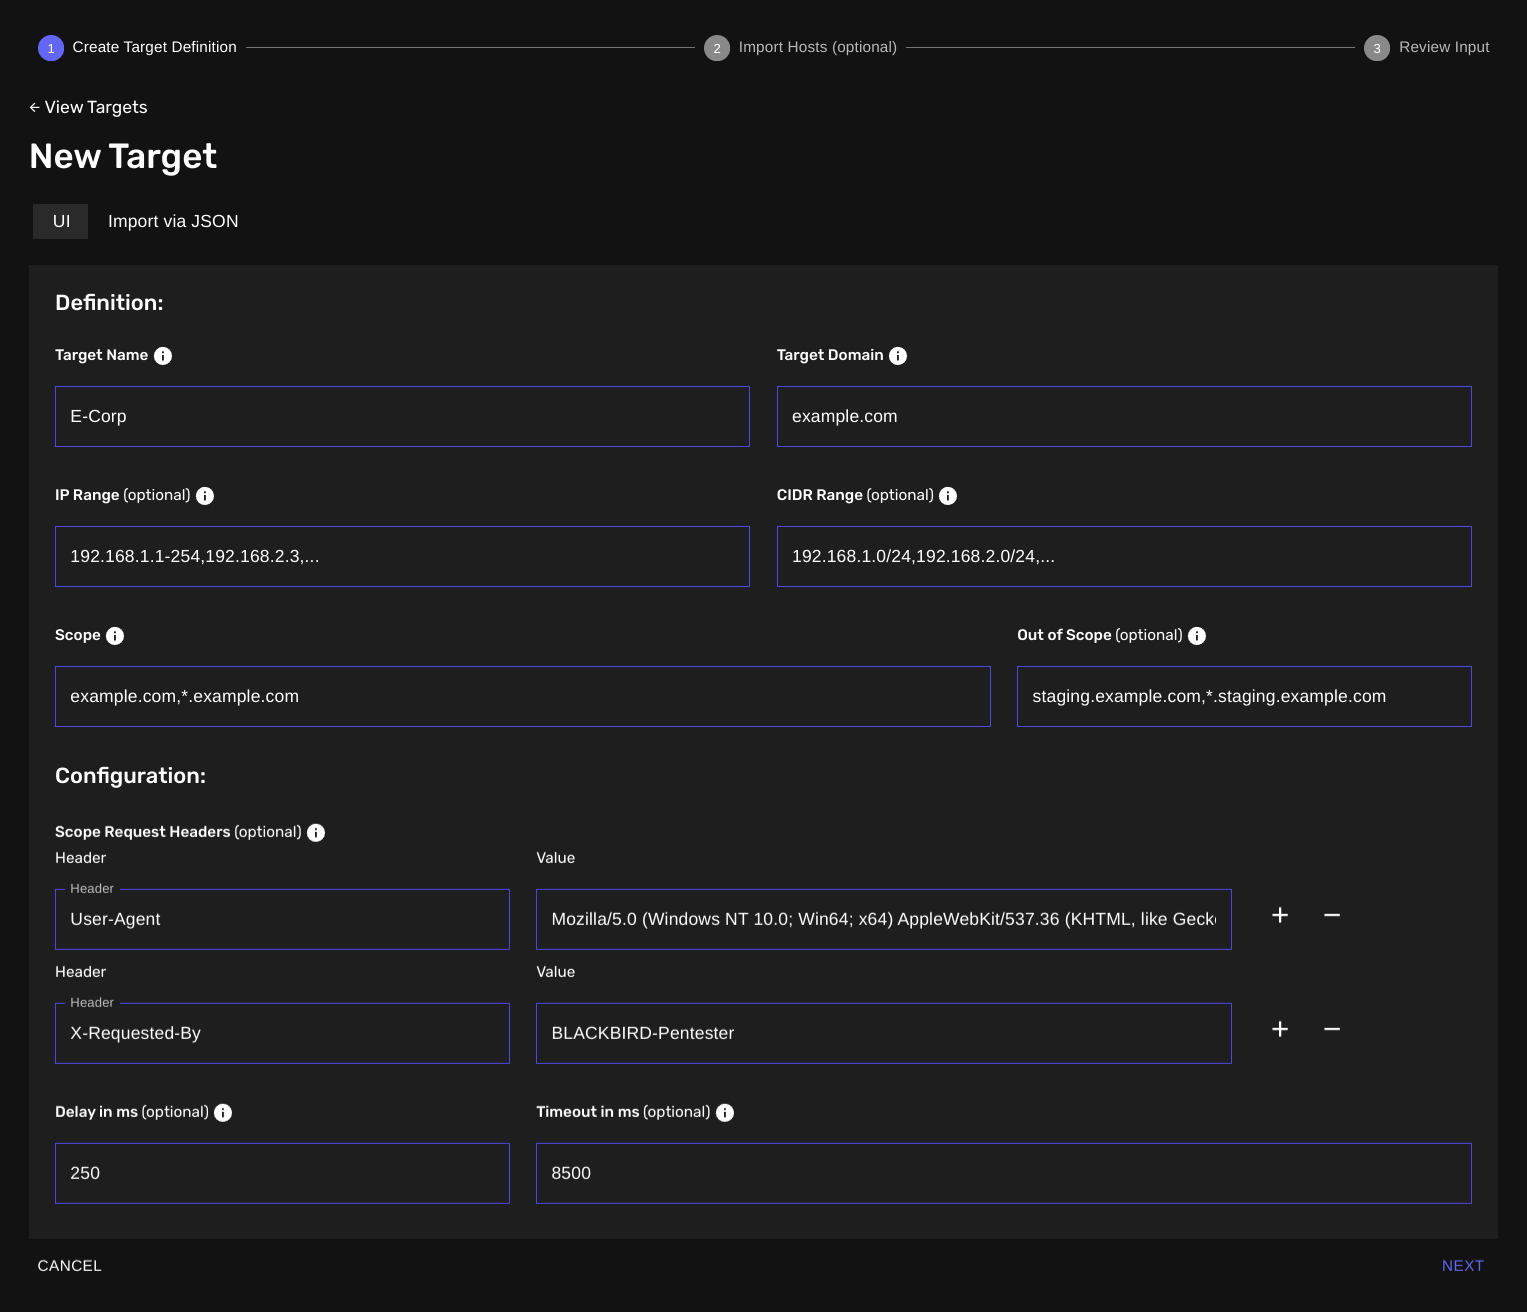
Target Name: Give your target a descriptive name to help you track it later (e.g., "Example").
Target Domain: Enter the primary or root domain name of your target (e.g., "example.com").
IP Range (optional): Specify the range of IP addresses to include (e.g., "192.168.1.1-254, ..."). Use a comma character to separate multiple IP ranges.
CIDR Range (optional): Define the network using CIDR notation (e.g., "192.168.1.0/24, ...").
Scope: List the domains and subdomains to include in your scan. Wildcards are accepted (e.g., "example.com,*.example.com").
Out of Scope (optional): Specify any subdomains or hosts you want to explicitly exclude. Wildcards are accepted (e.g., "app-stg.example.com,*.app-stg.example.com").
Example:
If your target is "*.example.com", make sure you set your scope to "example.com,*.example.com" to include the root domain.
Configuration options:
You may also specify global configuration options that are only applicable to a specific target. An example would be enforcing a rate limit or adjusting the timeout for a specific target.
Scope Request Headers (optional): Add custom headers for your scan requests. In the example, a User-Agent header is set.
Delay in ms (optional): If your client requires you to follow a strict rate-limiting guideline, you can set a delay between each HTTP request to avoid overwhelming the target servers.
Timeout in ms (optional): Specify how long to wait for a response before timing out. Some servers take longer to respond than others, if that's the case with your target, you can override the default timeout setting.
Step 2: Import Hosts (Optional)
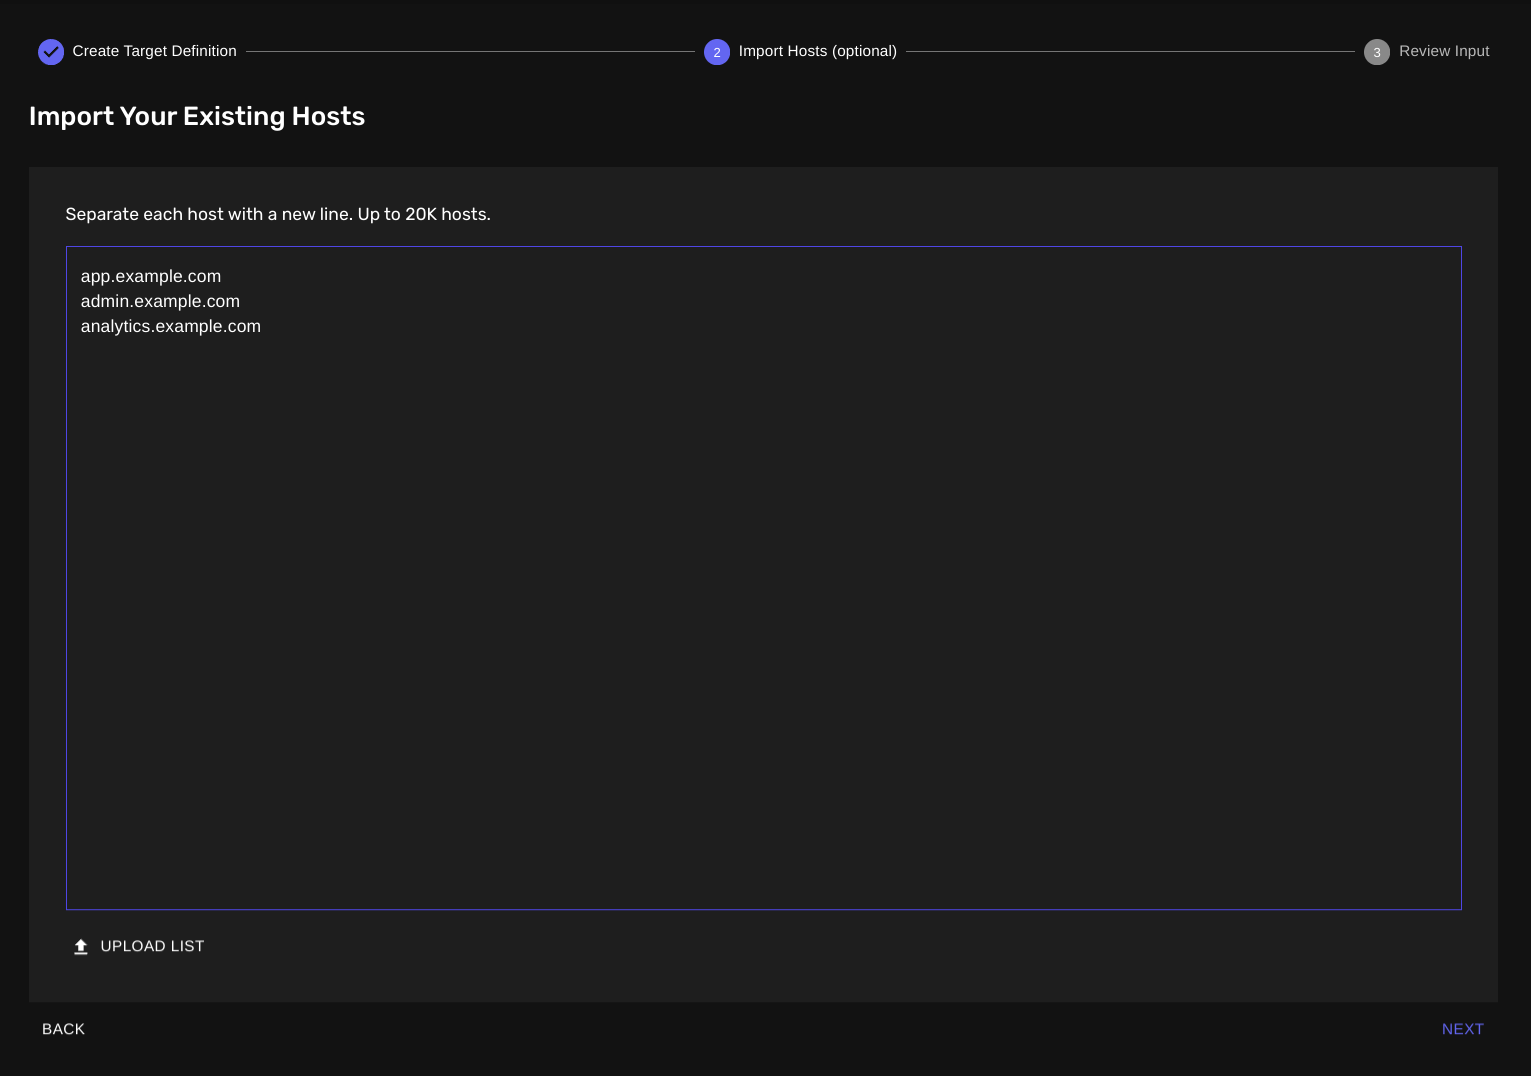
In case you already have a list of hosts, this step allows you to import them easily.
Make sure to enter each host on a new line in the provided text area.
If you don't have hosts to import, you can skip this step.
Step 3: Review Your Input
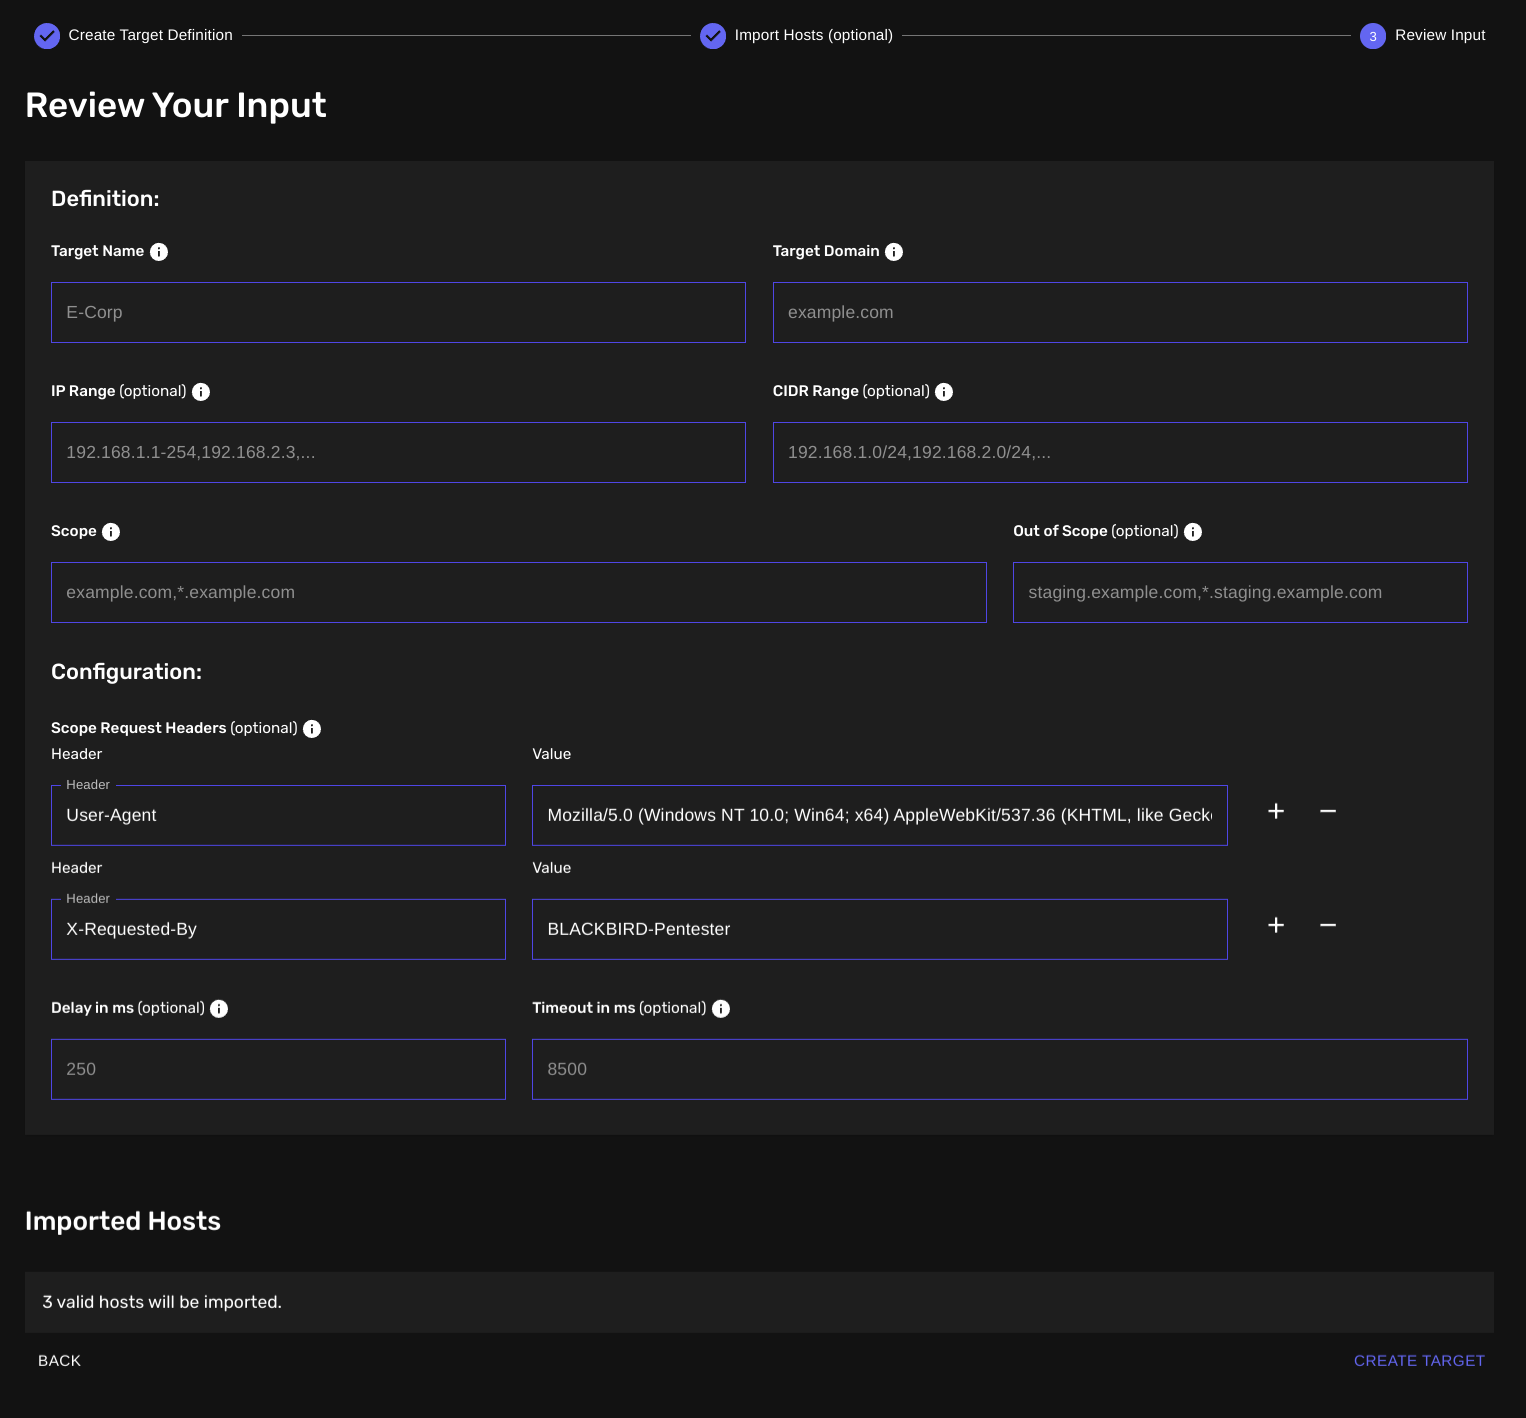
The final step presents a summary of all the information you've entered:
Definition: Review the target name, domain, IP range, CIDR range, scope, and out-of-scope entries.
Configuration: Double-check the scope request headers, delay, and timeout settings.
Imported Hosts: Confirm the number of hosts that will be imported (if any).
If everything looks correct, click the "Create Target" button to finalize your target definition. If you need to make changes, use the "Back" button to return to previous steps.
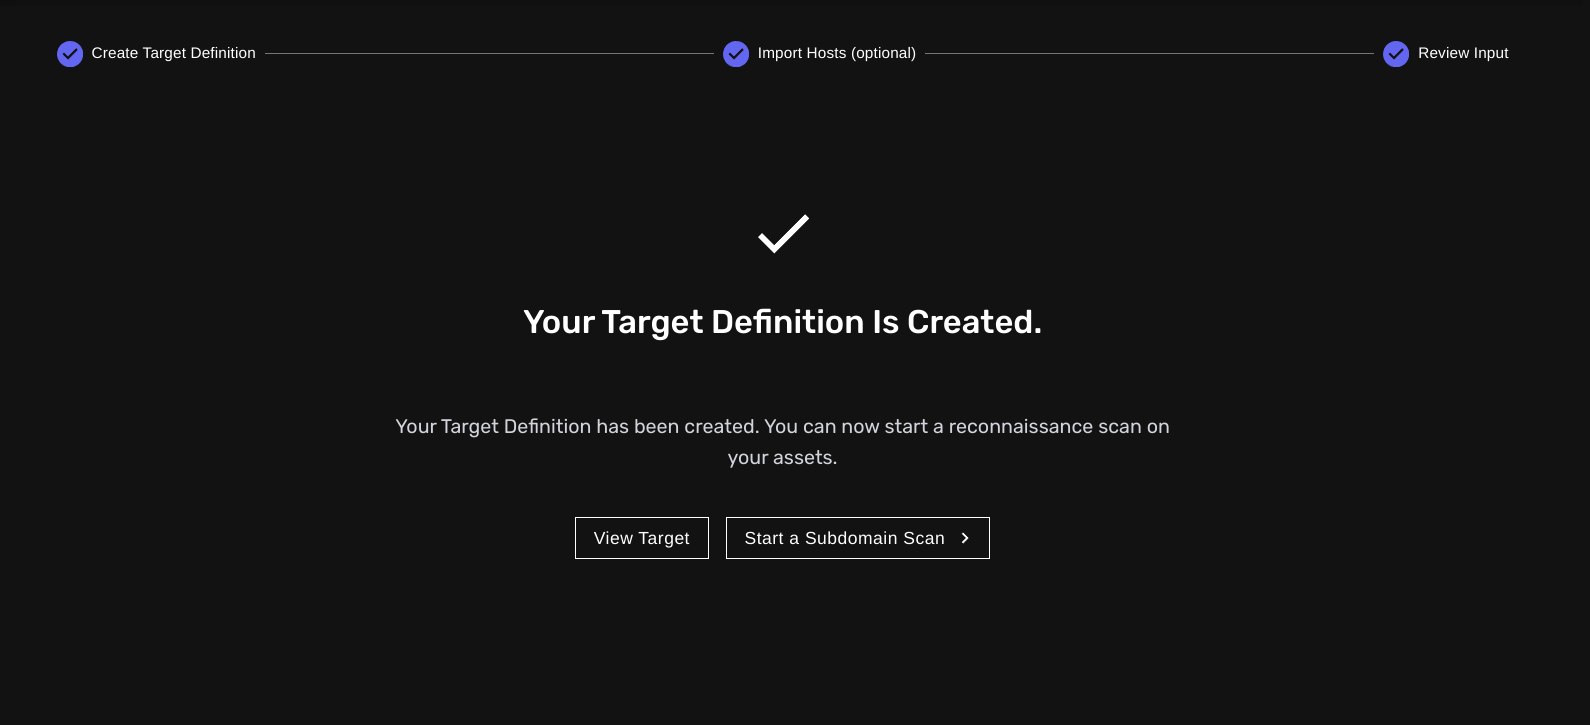
Once created, you will be asked if you'd like to run a reconnaissance scan on your target definition. This scan type is designed to map out all your hosts within your specified scope.
Conclusion:
Creating a valid target definition is essential for accurate and efficient scanning. By following these steps and carefully reviewing your input, you can ensure that your scans focus on the right targets and respect any necessary scopes or boundaries. Remember to regularly update your target definitions as your network evolves to maintain optimal scanning results.


